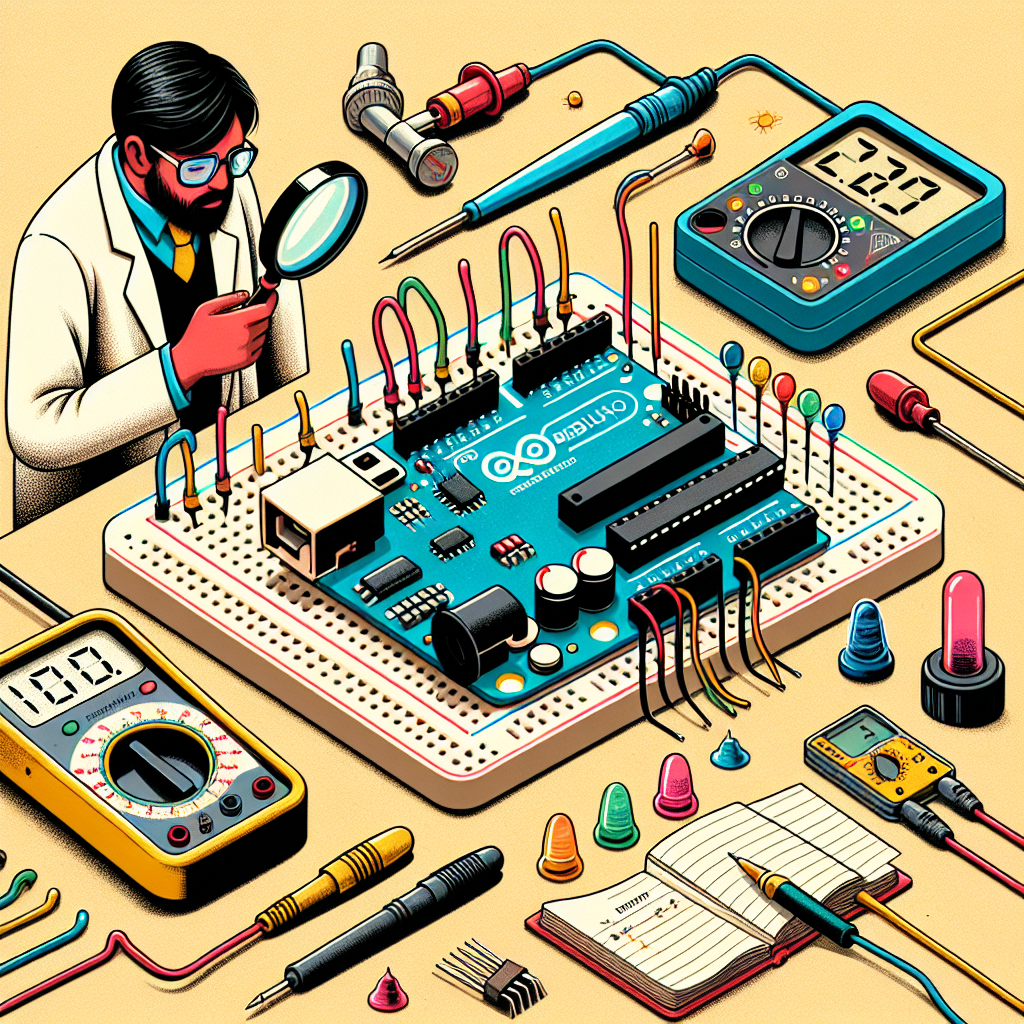
Common Issues with Arduino and How to Fix Them
Arduino is a popular open-source platform used for building electronic projects. It is widely used by hobbyists, students, and professionals alike due to its versatility and ease of use. However, like any other electronic device, Arduino is not immune to issues and errors. In this article, we will discuss some common issues with Arduino and how to troubleshoot them.
One of the most common issues with Arduino is incorrect wiring. This can happen due to a variety of reasons, such as using the wrong pins, loose connections, or faulty components. If your Arduino project is not working as expected, the first thing you should do is check the wiring. Make sure that all the connections are secure and that the components are connected to the correct pins. If you are using a breadboard, double-check the connections and make sure that there are no loose wires.
Another common issue with Arduino is incorrect code. This can happen if you have made a mistake while writing the code or if you have copied and pasted code from the internet without understanding it. If your project is not working, go through your code line by line and check for any errors. You can also try simplifying your code and testing it with a basic sketch to see if the issue is with the code or the hardware.
Sometimes, an Arduino project may not work due to a faulty component. This can be difficult to troubleshoot, especially if you are using multiple components. The best way to identify a faulty component is by testing each one individually. You can do this by disconnecting all the components from the Arduino and testing them one by one. If a component is not working, it may need to be replaced.
Another issue that can arise with Arduino is power-related problems. If your project is not getting enough power, it may not function properly. This can happen if you are using a weak power source or if you are drawing too much current from the Arduino. To troubleshoot this issue, make sure that you are using a power source that can provide enough current for your project. You can also try using a separate power supply for components that require more power.
Sometimes, an Arduino project may not work due to a faulty USB cable. This can happen if the cable is damaged or if it is not compatible with your computer. If your project is not working, try using a different USB cable or connecting the Arduino to a different computer. You can also try resetting the Arduino by disconnecting it from the power source and reconnecting it after a few seconds.
Another common issue with Arduino is incorrect settings in the IDE (Integrated Development Environment). This can happen if you have selected the wrong board or serial port in the IDE. If your project is not working, make sure that you have selected the correct board and serial port in the IDE. You can also try resetting the board by pressing the reset button or by uploading a blank sketch.
In conclusion, Arduino is a powerful and versatile platform, but it is not immune to issues and errors. If your project is not working, the first thing you should do is check the wiring and the code. If the issue persists, try testing each component individually and make sure that you are using a suitable power source. If all else fails, you can seek help from online forums and communities, where experienced users can provide guidance and troubleshooting tips. With a little patience and perseverance, you can overcome any issue with Arduino and successfully complete your project.
Troubleshooting Arduino Code: Tips and Tricks

Arduino is a popular open-source platform used for building electronic projects. It is widely used by hobbyists, students, and professionals alike due to its versatility and ease of use. However, like any other technology, it is not immune to errors and bugs. As an Arduino user, you may encounter issues with your code that can be frustrating and time-consuming to troubleshoot. In this article, we will discuss some tips and tricks to help you troubleshoot your Arduino code effectively.
The first step in troubleshooting an Arduino is to understand the error message. When you upload your code to the board, the Arduino IDE (Integrated Development Environment) will display any errors or warnings in the bottom section of the screen. These messages can provide valuable information about the issue at hand. It is essential to read and understand these messages before proceeding with troubleshooting.
One common error that Arduino users encounter is the “compilation error.” This error occurs when there is a syntax error in your code. It could be a missing semicolon, a misspelled function, or a misplaced bracket. To fix this error, carefully review your code and look for any mistakes. The error message will also indicate the line number where the error occurred, making it easier to locate the issue.
Another common issue is the “upload error.” This error occurs when the Arduino IDE is unable to communicate with the board. It could be due to a faulty USB cable, a damaged board, or incorrect board settings. To troubleshoot this error, try using a different USB cable or connecting the board to a different computer. If the issue persists, check the board settings in the IDE and make sure they match the board you are using.
Sometimes, your code may compile and upload successfully, but the board does not function as expected. This issue could be due to a logical error in your code. For example, if you are using a sensor, make sure it is connected correctly and is providing the expected values. You can also use the “Serial Monitor” feature in the Arduino IDE to print out values and debug your code.
If you are using external components, such as sensors or motors, make sure they are receiving the correct power supply. Insufficient power can cause your board to malfunction or not function at all. You can use a multimeter to check the voltage and current being supplied to your components.
Another useful tool for troubleshooting Arduino code is the “Serial Plotter.” This feature allows you to plot data from your board in real-time, making it easier to visualize and analyze the data. It can be helpful in identifying any anomalies or unexpected values that may be causing issues in your code.
In some cases, the issue may not be with your code but with the board itself. If you have tried all the above steps and are still unable to resolve the issue, try resetting the board. You can do this by pressing the reset button on the board or by using the “Reset” option in the IDE. If the board is still not functioning correctly, it may be damaged, and you may need to replace it.
In conclusion, troubleshooting Arduino code can be a daunting task, but with the right approach, it can be a relatively simple process. It is essential to understand the error messages, carefully review your code, and use the available tools to debug and analyze your code. With these tips and tricks, you can effectively troubleshoot your Arduino and get back to building your projects in no time.
Hardware Troubleshooting for Arduino Projects
Arduino is a popular open-source hardware and software platform that is widely used by hobbyists, students, and professionals alike for creating interactive electronic projects. It is a versatile and user-friendly platform that allows users to easily program and control a wide range of electronic components. However, like any other electronic device, Arduino can also encounter issues and malfunctions. In this article, we will discuss some common troubleshooting techniques that can help you resolve any hardware-related problems with your Arduino projects.
The first step in troubleshooting an Arduino is to identify the problem. This may seem obvious, but it is important to carefully observe the behavior of your Arduino and the components connected to it. Is the Arduino not powering on at all? Is it not responding to your code? Is it giving unexpected outputs? Once you have identified the problem, you can move on to the next step.
The next step is to check the power supply. Arduino boards can be powered in various ways, such as through a USB cable, a battery, or an external power supply. If your Arduino is not powering on, make sure that the power source is providing the correct voltage and current. You can use a multimeter to measure the voltage and current at the power source and compare it with the specifications of your Arduino board. If the power supply is not the issue, move on to the next step.
Another common issue with Arduino projects is incorrect wiring. It is important to double-check all the connections between your Arduino and the components. Make sure that the wires are securely connected and that there are no loose connections. You can also use a continuity tester to check if there is a complete circuit between the components. If you find any faulty connections, fix them and test your project again.
If your Arduino is still not functioning properly, it could be due to a faulty component. This can be a bit tricky to troubleshoot, but there are a few things you can do to identify the faulty component. First, check if the component is getting the correct voltage and current. If not, there may be an issue with the power supply or the wiring. If the voltage and current are correct, you can try replacing the component with a new one. You can also use a multimeter to test the component for continuity and resistance. If the component is faulty, it will show either an open circuit or a short circuit. In this case, you will need to replace the component.
Sometimes, the issue may not be with the hardware, but with the code. If your Arduino is not responding to your code or giving unexpected outputs, it could be due to a coding error. Carefully review your code and make sure that it is written correctly. You can also try uploading a simple test code to your Arduino to see if it is functioning properly. If the issue persists, it could be due to a problem with the Arduino board itself.
In some cases, the issue may be caused by a conflict between different components or sensors connected to the Arduino. This can happen if two components are trying to use the same pins or if there is a mismatch in the voltage levels. Make sure to carefully read the specifications of all the components and ensure that they are compatible with each other. You can also try disconnecting one component at a time and testing your project to identify the conflicting component.
In conclusion, troubleshooting an Arduino can be a bit challenging, but with a systematic approach and some basic knowledge of electronics, most issues can be resolved. It is important to carefully observe the behavior of your Arduino and the components, check the power supply and wiring, and test for faulty components or coding errors. With these techniques, you can ensure that your Arduino projects run smoothly and without any issues.

