Introduction to GPIO Pins: Understanding the Basics
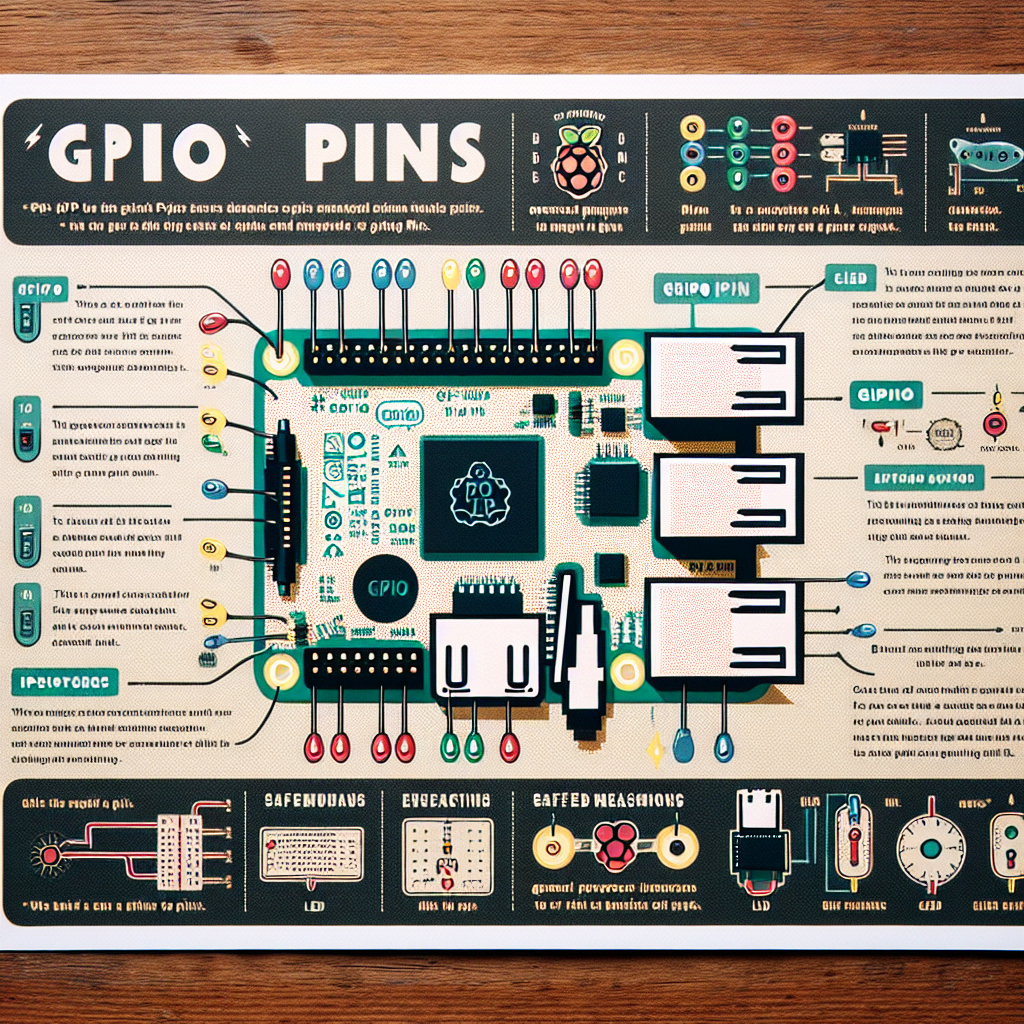
GPIO (General Purpose Input/Output) pins are an essential component of any microcontroller or single-board computer. They allow for communication between the device and external components, making them a crucial part of any electronic project. In this article, we will delve into the basics of GPIO pins, their functions, and how to use them effectively.
To understand GPIO pins, we must first understand what they are and how they work. GPIO pins are small metal pins on a microcontroller or single-board computer that can be programmed to either send or receive digital signals. These signals can be used to control external components such as LEDs, sensors, motors, and more. Each GPIO pin has a specific function and can be configured to perform different tasks.
One of the most significant advantages of GPIO pins is their versatility. They can be programmed to perform a wide range of functions, making them suitable for various projects. For example, a GPIO pin can be set as an input to read data from a sensor, or it can be set as an output to control the speed of a motor. This flexibility makes GPIO pins a valuable tool for both beginners and experienced electronics enthusiasts.
Now that we have a basic understanding of what GPIO pins are let’s take a closer look at their functions. GPIO pins can be classified into two categories: input and output. Input pins are used to receive signals from external components, while output pins are used to send signals to external components. These signals can be either digital or analog, depending on the type of GPIO pin.
Digital signals are binary, meaning they can only have two states: high or low. High refers to a voltage of 3.3V or 5V, depending on the device, while low refers to 0V. On the other hand, analog signals can have a range of values between high and low, making them suitable for more precise measurements. It is essential to understand the difference between digital and analog signals when working with GPIO pins, as it will determine the type of pin you need to use for your project.
Now that we know the basics of GPIO pins and their functions, let’s discuss how to use them. The first step is to identify the GPIO pins on your device. Most microcontrollers and single-board computers have a specific layout for their GPIO pins, which can be found in the device’s datasheet. Once you have identified the pins, you can start programming them to perform the desired tasks.
Programming GPIO pins can be done using various programming languages, such as C, Python, or Arduino. Each language has its syntax and functions for working with GPIO pins, so it is essential to choose the one that best suits your project. For beginners, using a platform like Arduino can be a great way to get started with GPIO pins, as it offers a user-friendly interface and a vast community for support.
In conclusion, GPIO pins are an essential component of any electronic project. They allow for communication between a device and external components, making them versatile and suitable for various applications. Understanding the basics of GPIO pins, their functions, and how to use them is crucial for anyone interested in electronics. With this knowledge, you can start experimenting and creating exciting projects using GPIO pins.
Exploring the Functionality of GPIO Pins in Electronic Projects

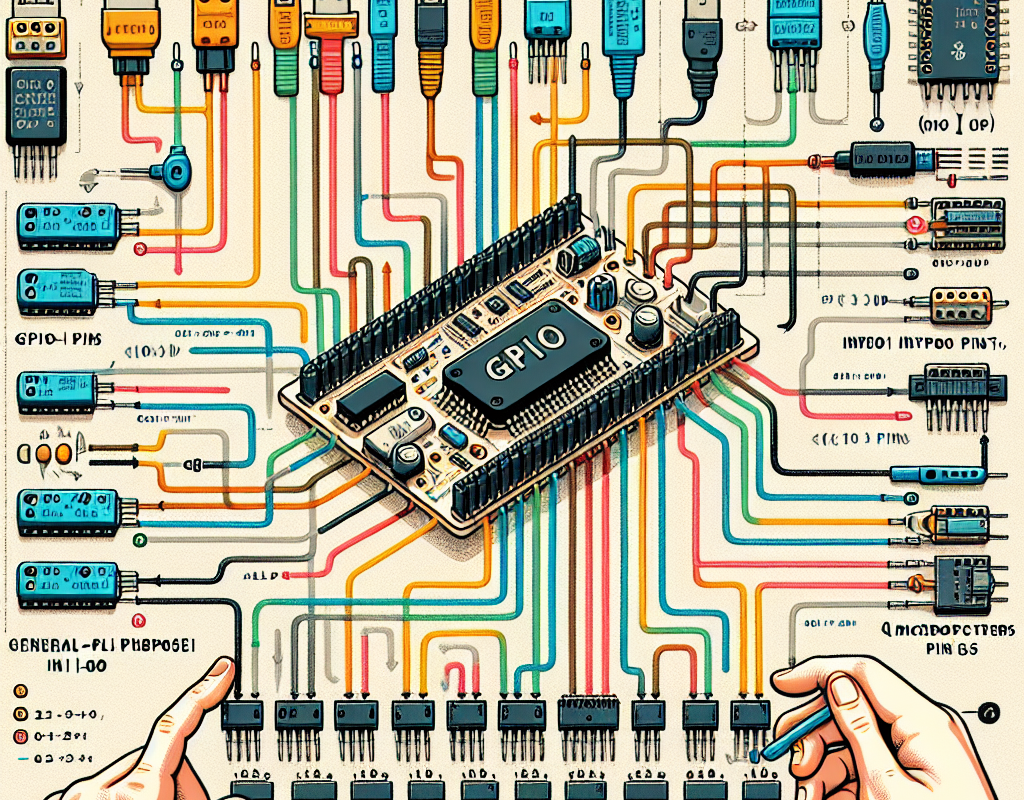
GPIO (General Purpose Input/Output) pins are an essential component in electronic projects, providing a way for microcontrollers to communicate with external devices. These pins are found on a variety of devices, from single-board computers like the Raspberry Pi to microcontrollers like the Arduino. In this article, we will explore the functionality of GPIO pins and how they can be used in electronic projects.
To understand GPIO pins, it is important to first understand the concept of input and output. In simple terms, input refers to data or signals that are received by a device, while output refers to data or signals that are sent out by a device. GPIO pins allow a microcontroller to receive input from external devices, such as sensors or switches, and send output to other devices, such as LEDs or motors.
One of the key features of GPIO pins is their versatility. Unlike dedicated pins that are designed for specific functions, GPIO pins can be configured for both input and output. This means that they can be used for a wide range of purposes, making them a valuable tool for electronic projects.
To use GPIO pins, you will need to connect them to external devices using wires or jumper cables. The number of GPIO pins available will vary depending on the device you are using. For example, the Raspberry Pi has 40 GPIO pins, while the Arduino has a varying number depending on the model.
Once the GPIO pins are connected to external devices, they can be controlled using code. This is where the versatility of GPIO pins truly shines. With the right code, you can read input from sensors, control the brightness of LEDs, or even drive motors. The possibilities are endless, and it all depends on your creativity and coding skills.
One of the most common uses of GPIO pins is for interfacing with sensors. Sensors are devices that can detect changes in the environment, such as temperature, light, or motion. By connecting a sensor to a GPIO pin, you can read the data it collects and use it to trigger certain actions. For example, you could use a temperature sensor to turn on a fan when the temperature reaches a certain level.
Another popular use of GPIO pins is for controlling LEDs. LEDs (Light Emitting Diodes) are small, low-power lights that can be used for a variety of purposes, from indicating the status of a device to creating colorful light displays. By connecting an LED to a GPIO pin, you can turn it on or off, or even vary its brightness using pulse width modulation (PWM).
GPIO pins can also be used to drive motors. Motors are devices that convert electrical energy into mechanical energy, and they are commonly used in robotics and other projects that require movement. By connecting a motor to a GPIO pin, you can control its speed and direction, allowing you to create complex movements and behaviors.
In addition to these common uses, GPIO pins can also be used for a variety of other purposes, such as reading data from buttons or switches, controlling relays, or even communicating with other devices using protocols like I2C or SPI.
In conclusion, GPIO pins are an essential component in electronic projects, providing a way for microcontrollers to communicate with external devices. Their versatility and ability to be configured for both input and output make them a valuable tool for any project. By understanding how GPIO pins work and how to use them, you can unlock endless possibilities for your electronic creations. So go ahead and start experimenting with GPIO pins in your next project, and see where your imagination takes you.
Step-by-Step Guide to Using GPIO Pins in Raspberry Pi Projects
GPIO (General Purpose Input/Output) pins are an essential component of Raspberry Pi projects. These pins allow the Raspberry Pi to interact with the outside world by receiving input from sensors and controlling output to devices such as LEDs, motors, and relays. In this step-by-step guide, we will explore what GPIO pins are and how to use them in your Raspberry Pi projects.
Firstly, let’s understand what GPIO pins are. GPIO pins are physical pins on the Raspberry Pi’s circuit board that can be programmed to either send or receive digital signals. These signals can be either high (3.3V) or low (0V), and they allow the Raspberry Pi to communicate with external devices. The Raspberry Pi has a total of 40 GPIO pins, which are labeled from GPIO2 to GPIO27, with some additional pins for power and ground.
Now that we know what GPIO pins are, let’s dive into how to use them in your projects. The first step is to identify the GPIO pins you want to use. You can refer to the Raspberry Pi’s pinout diagram to find the specific pins you need. Once you have identified the pins, you will need to connect them to your external devices using jumper wires.
Next, you will need to write a code to control the GPIO pins. The Raspberry Pi has a built-in library called RPi.GPIO, which allows you to control the GPIO pins using Python programming language. To use this library, you will need to import it into your code. You can do this by adding the following line at the beginning of your code:
import RPi.GPIO as GPIO
Once you have imported the library, you will need to set up the GPIO pins you want to use. This involves specifying whether the pins will be used for input or output and setting their initial state. For example, if you want to use GPIO pin 17 as an output pin, you can use the following code:
GPIO.setup(17, GPIO.OUT, initial=GPIO.LOW)
This code sets up GPIO pin 17 as an output pin and sets its initial state to low. Similarly, if you want to use GPIO pin 18 as an input pin, you can use the following code:
GPIO.setup(18, GPIO.IN)
This code sets up GPIO pin 18 as an input pin. It is important to note that you will need to use a resistor to pull the input pin to a known state (either high or low) to avoid any floating values.
Once you have set up the GPIO pins, you can start controlling them in your code. For example, if you want to turn on an LED connected to GPIO pin 17, you can use the following code:
GPIO.output(17, GPIO.HIGH)
This code sets the output of GPIO pin 17 to high, which will turn on the LED. Similarly, if you want to read the state of an input pin, you can use the following code:
input_state = GPIO.input(18)
This code will read the state of GPIO pin 18 and store it in the variable “input_state.” You can then use this variable in your code to perform certain actions based on the input state.
In addition to controlling the GPIO pins, you can also use them to trigger interrupts. Interrupts allow your code to respond to external events without constantly checking the state of an input pin. This can be useful in applications where you need to respond quickly to changes in the input state. To use interrupts, you will need to set up a callback function that will be executed when an interrupt is triggered. You can learn more about using interrupts in the official Raspberry Pi documentation.
In conclusion, GPIO pins are a crucial component of Raspberry Pi projects, allowing the device to interact with the outside world. By following the steps outlined in this guide, you can easily use GPIO pins in your projects and take your Raspberry Pi projects to the next level. So go ahead and start experimenting with GPIO pins in your next project!

